Still going back in time to catch up on posts. This time for Miss D's eighth birthday. It was the last party at our house in Georgia...sigh. It was a great one though. Lots of good food and lots of really wonderful friends! Miss D wanted a rainbow party and that's exactly what we delivered.
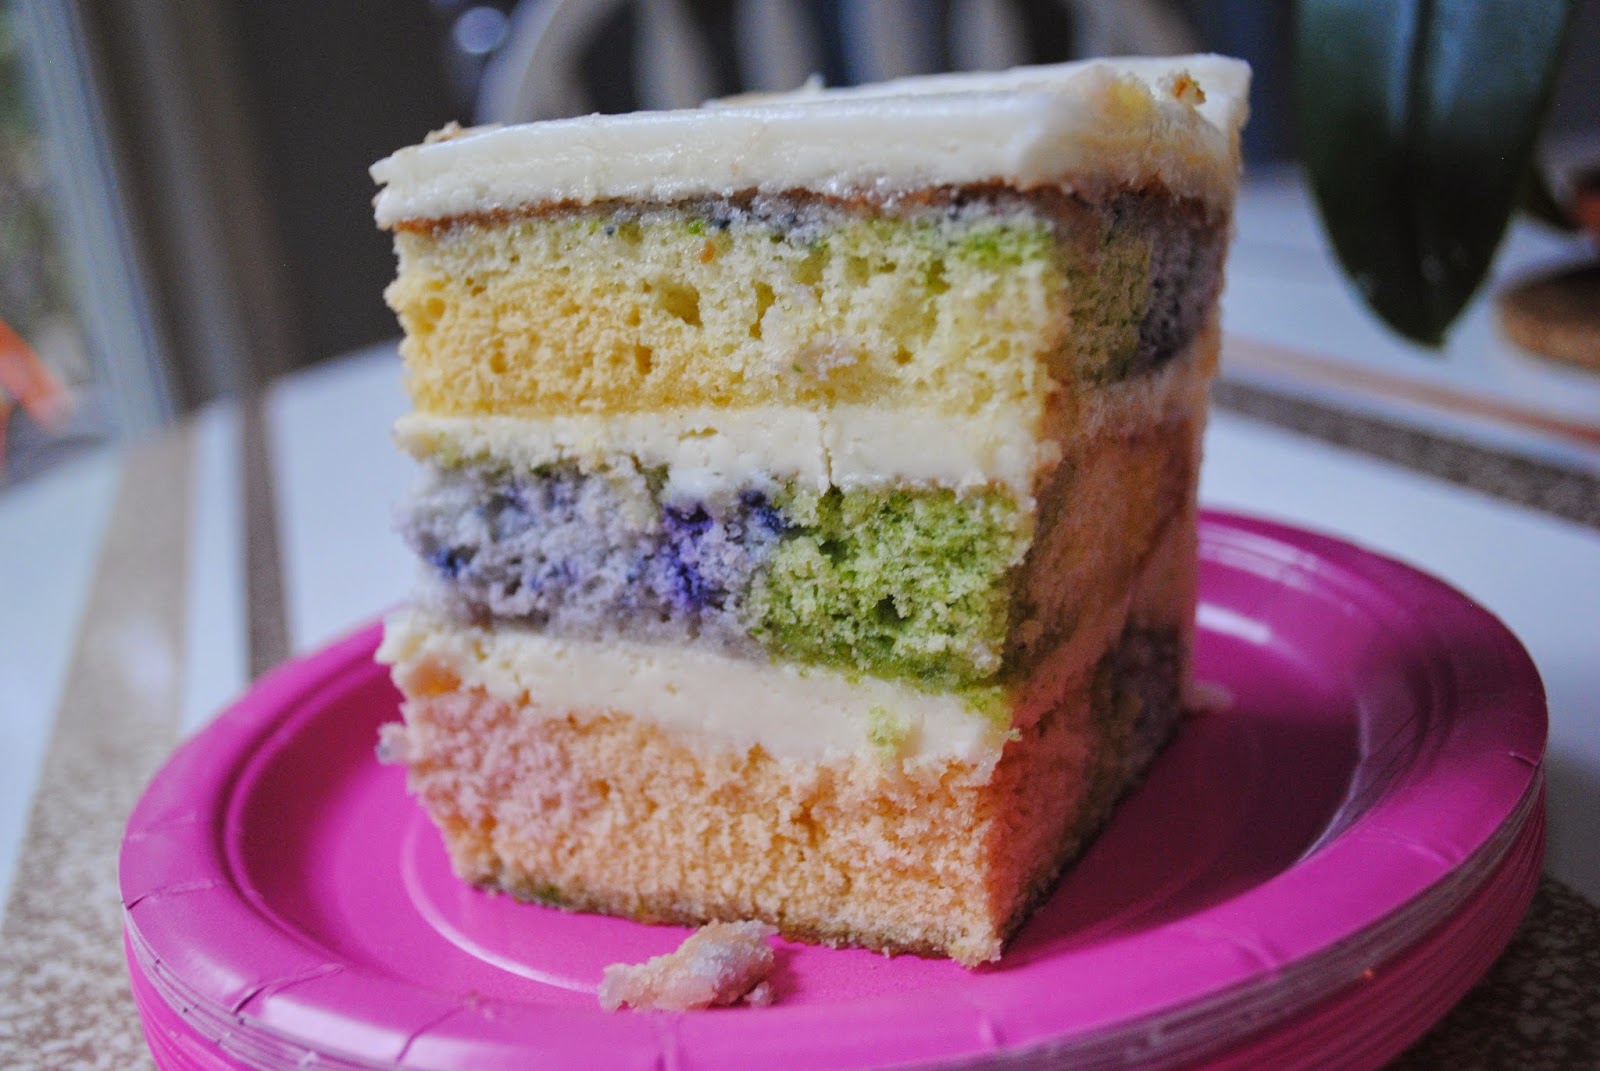
The cake: Ok, so rainbow birthday and the immediate thought is the rainbow cake. You know the one. The towering stack of brightly candy colored layers of cake. Been there, done that. Looks cool in pictures and definitely is stunning to cut into, but not always a joy to eat with the artificial colors. I knew I wanted something a bit different, but still along the rainbow theme. I researched online for some natural dye bases to give the cake the rainbow effect. I knew that the colors wouldn't be quite as vibrant as the artificial so I decided to use a layering technique for the batter to give a tie-dye effect. Instead of baking each layer separate, the colored batter gets poured into the pan in succession. As the next color is poured into the pan, it helps spread the color(s) next to them. The key is pouring slow and steady. So for instance, one cake I poured them in the ROYGBV order, and then in the next pan, I poured them in the opposite order VBGYOR to add to the tie-dye effect. I think the pictures below probably explain it better than I can. This cake looks innocent and simple enough on the outside, but it's the inside that is really the "wow" part of the cake. Apart from a small amount of decoration on the outside fondant layer, the cake is all natural color and flavors. Woohoo!
Ready to go in to the oven.
And out of the oven and cooling.
Alright, so I started out with a good white cake recipe. I made four batches of it. Each batch I divided into six bowls and colored with about a tablespoon or so of natural dye. One batch was baked in two 8" square pans. The remaining three batches were baked in a large 9" x 12" pan. This is the white cake recipe I used:
White Cake (adapted from The Southern Heritage Cakes Cookbook, Southern Living Books, 1983)
1/2 cup shortening
1 1/4 c. sugar
2 cups cake flour
2 1/2 tsp. baking powder
1/2 tsp. salt
3/4 c. milk
1 tsp. vanilla extract
3 egg whites, at room temperature
Preheat oven to 350 degrees.
In the bowl of a large mixer, cream shortening with sugar until light and fluffy. In a separate bowl, combine flour, baking powder and salt. Measure out milk and add vanilla extract. Add flour to creamed mixture alternately with the milk. Be sure to begin and finish with the addition of flour. In a clean bowl, beat egg whites to stiff peaks. Fold the egg whites gently into the batter.
For the Rainbow Tie dye effect:
Divide batter between 6 small bowls. To each bowl you will add about 1 tablespoon of natural dye. Fold dye into batter until incorporated. Pour into prepared pan in the order that you wish to see the colors. Begin pouring batter in the center of the pan and slowly add each color in succession. The color you add first will end up on the outside and bottom of the cake, the last color you add will remain toward the center. Bake at 350 degrees for 20 - 25 minutes. Cool cakes in the pan 10 minutes before removing to cooling racks.
::
Natural Dyes: I needed about 1/4 cup total for a quadruple recipe of the white cake. Now, I will confess I really wish at this point I had a juicer on hand to make these dyes, but I didn't and it really was do-able with just a mini-food processor and a strainer. For all of the dyes (except the yellow), I took about a 1/2 cup of raw vegetable/fruit, pureed it in the mini processor and then strained it into a separate bowl. You may need to use a rubber spatula to press the puree a bit and squeeze out the juice.
Red: I used canned beets for this.
Orange: Carrots, or you can buy carrot juice.
Yellow: One egg yolk (for each recipe so, 4 egg yolks total)
Green: Fresh spinach, or buy spinach juice.
Blue: Use fresh or frozen (thawed) blueberries.
Purple: Fresh or frozen (thawed) blackberries.
I used a cream cheese frosting in between the layers and a vanilla butter cream frosting for the outside of the cake. Why two frostings you ask? Well, this was Georgia, in June, and hot, hot, hot. The butter cream is a bit more stable and able to withstand the heat, but with the faint hint of fruit and vegetable flavors in the cake (not overwhelming though) the cream cheese was a natural balance. Again as with many of my cakes, I used marshmallow fondant for the outside. I left it naturally white. I wanted a cloud-like effect. I made a few clouds out of royal icing. I used a bit of extra fondant and had the birthday girl cut out shapes and decorate them with food writers. She was thrilled to say that she helped decorate the cake and I think it made it very sweet. You can see some stars and flowers that she decorated and I attached to the outside layer.
Putting it together.

Yum!


No comments:
Post a Comment